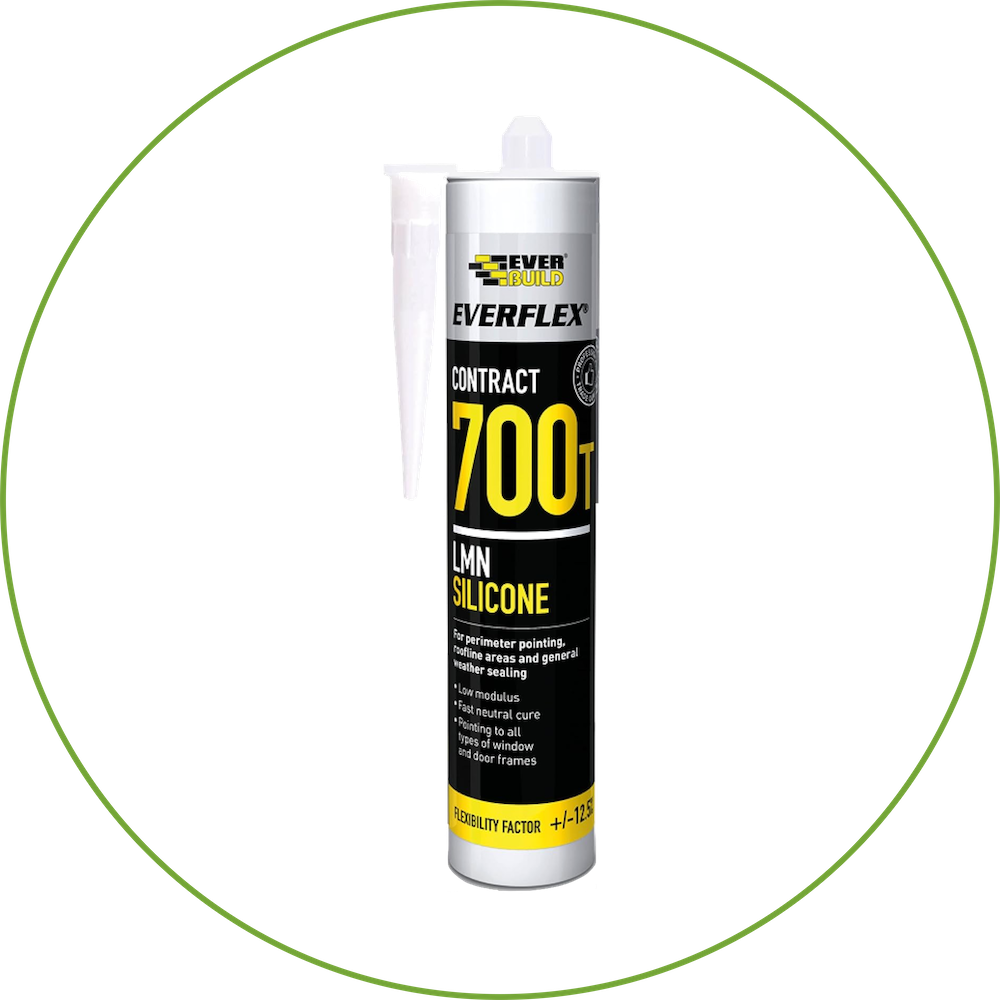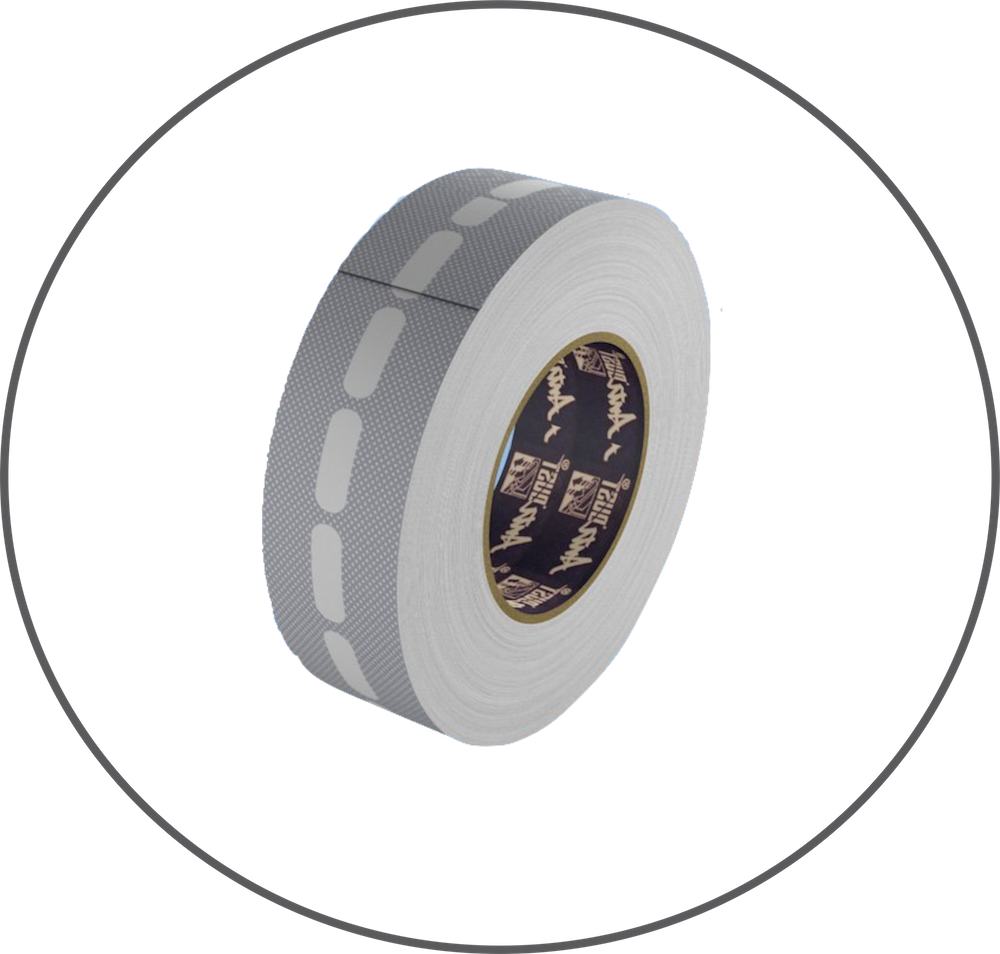


Material and Tools You Will Need:
Bitumen felt rolls
Fixing pins (nails or staples)
Eaves fillers
Flashing tape
Roofing adhesive or bitumen compound
Measuring tape
Spirit level
Roofing hammer or staple gun
Utility knife or roofing knife
Roofing gloves
Safety glasses
Ladder or scaffolding (if working at height)
Safety gear (e.g., gloves, safety glasses, etc.)
Installation Steps:


1.Planning and Preparation:
Determine the size of the area you want to cover with bitumen felt.
Ensure you have all the required materials and tools.
Check the local building codes and obtain any necessary permits.
Surface Preparation:
Ensure the roof surface is clean, dry, and free from debris.
Repair any damaged or rotten boards and replace them as needed.
Apply a layer of roofing adhesive or bitumen compound to the entire surface of the roof to create a secure base for the bitumen felt.
Measuring and Cutting:
Measure the length of the roof and cut the bitumen felt rolls to the appropriate length, allowing for an overhang at the eaves.
Roll out the first bitumen felt strip along the eaves, ensuring it is aligned and straight.


2. Attaching the Bitumen Felt:
Secure the bitumen felt at the eaves by using fixing pins (nails or staples). Place them at regular intervals along the edge of the felt.
Stretch the felt taut and align it with the roof's edge.
Overlapping Layers:
Lay the next bitumen felt strip so that it overlaps the previous one by at least 50 mm (2 inches). This ensures water runs down and does not enter the joint.
Secure the overlapping layer with fixing pins, ensuring it is straight and taut.


3. Continue Laying Felt:
Continue this process, overlapping each new strip of bitumen felt with the previous one until you reach the ridge or the top of the roof.
Cutting Around Protrusions:
Cut the bitumen felt neatly around any roof vents, pipes, or other protrusions using a utility knife or roofing knife.
Apply flashing tape around these areas to create a watertight seal.
Eaves Fillers:
Install eaves fillers along the eaves of the roof to provide a weather-tight seal and prevent debris from entering.
Ensure the eaves fillers are properly secured using roofing adhesive or bitumen compound.


4. Flashing Tape:
Apply flashing tape along the ridge of the roof, around any roof vents, and at any joints or seams to create a watertight seal.
Press the flashing tape firmly to ensure proper adhesion.


5. Clean-Up:
Remove any debris and unused materials from the installation area.
Safety Precautions:
Always follow safety guidelines when working at heights.
Use appropriate safety gear to protect yourself.


6. Safety Precautions:
Always follow safety guidelines when working at heights.
Use appropriate safety gear to protect yourself.
"Please keep in mind that this guide offers a broad overview of the installation process. It is
crucial to refer to the precise installation instructions provided by your roofing system's
manufacturer, as their product may come with distinctive features or specific requirements.
Furthermore, if you feel uneasy about any aspect of the installation process, we strongly
recommend seeking professional assistance to guarantee a safe and secure installation.
Polycarbonate Xpress accepts no liability for damages or injuries resulting from incorrectly
installed roofing systems."


