


Material and Tools You Will Need:
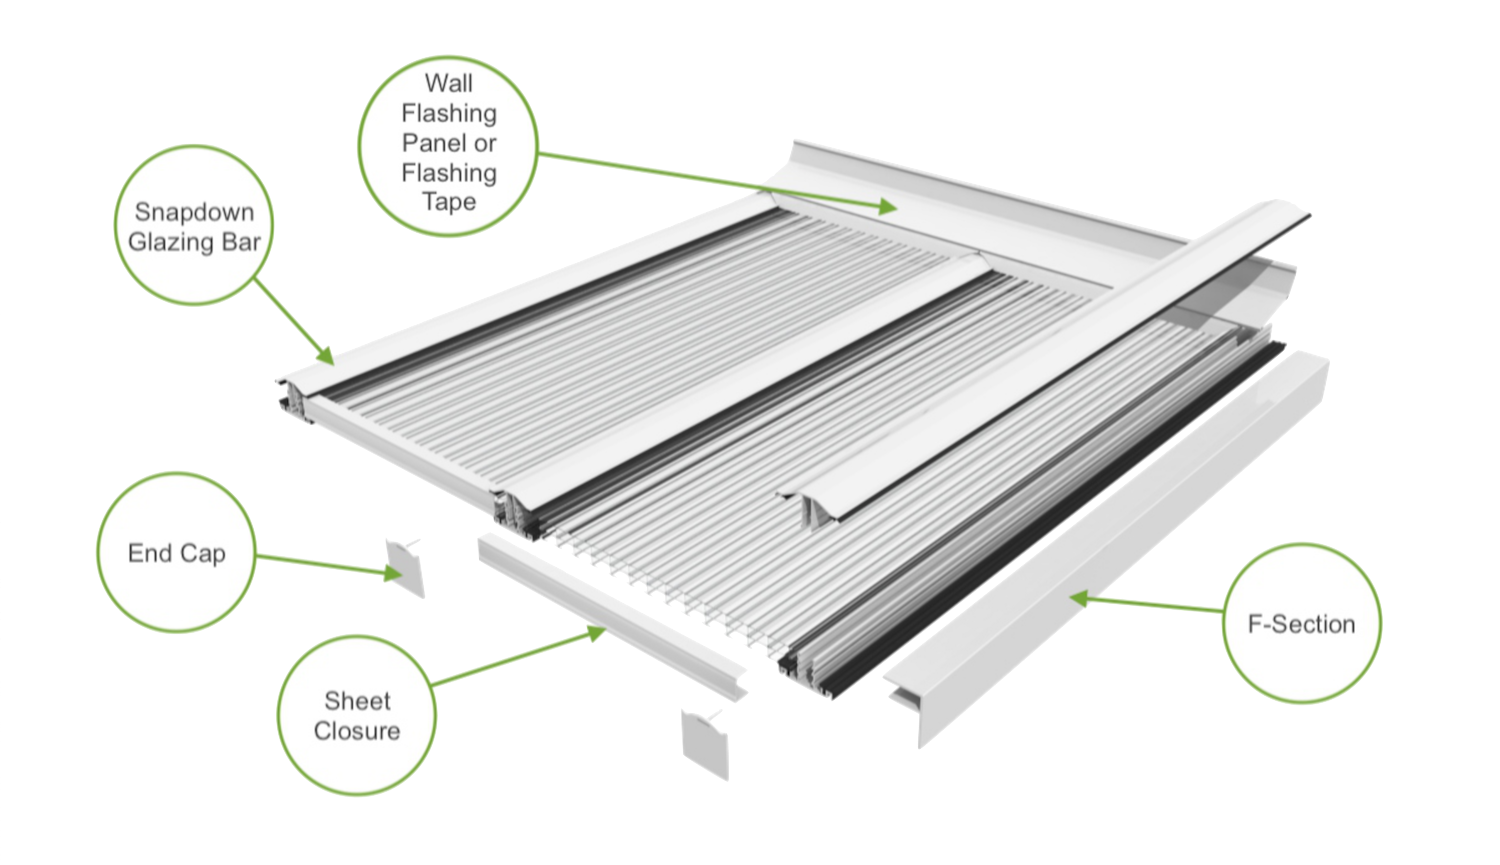
Self-supporting glazing bars
Multi-wall polycarbonate sheets
Fixing buttons
F-sections (if required)
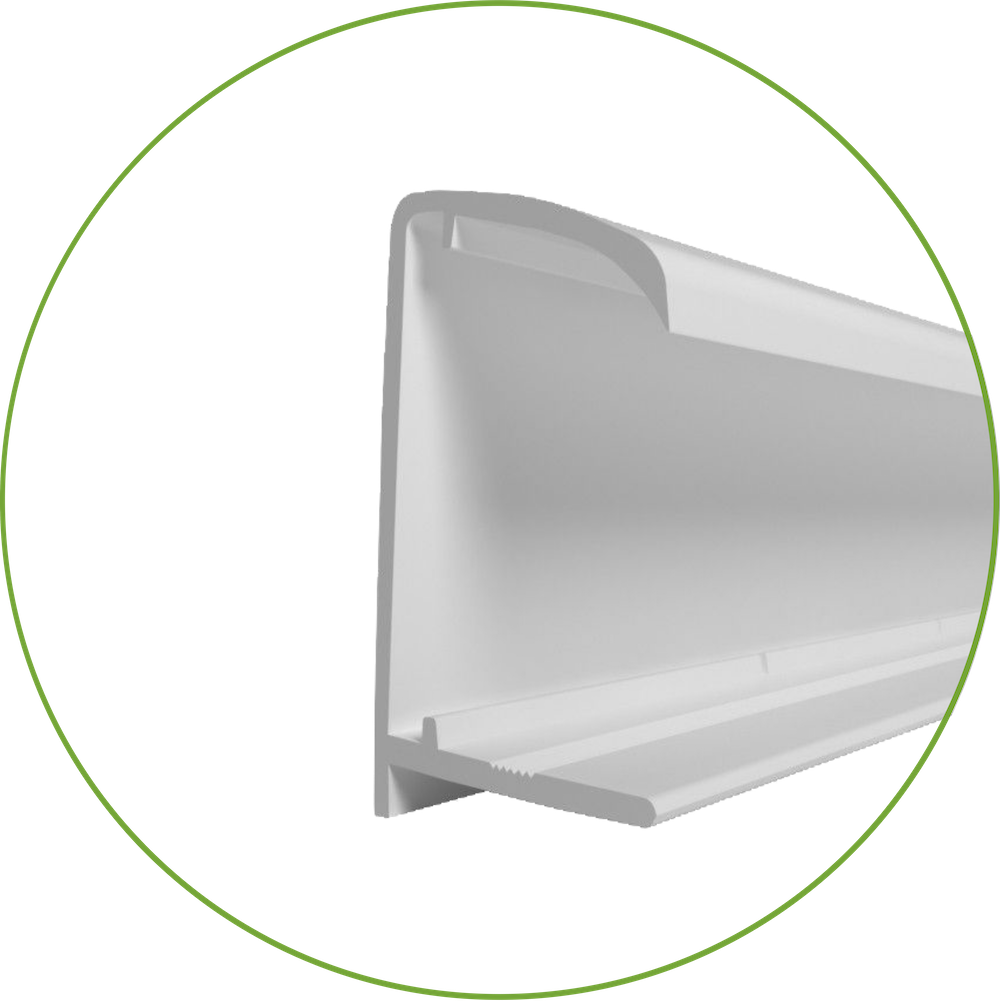
Sheet closers
Wall-facing panels (if required)
Facing tape
Measuring tape
Spirit level
Screwdriver
Drill with appropriate drill bits
Screws and anchors (if required)
Roofing silicone sealant
Safety gear (gloves, safety glasses, etc.)

1.Planning and Preparation:
Determine the size and shape of the polycarbonate roof you want to install.
Check the local building codes and obtain any necessary permits.
Ensure you have all the required materials and tools.
Safely set up scaffolding or ladders to reach the installation area.
2. Measuring and Marking:
SUse a measuring tape and spirit level to mark the position of the F-sections on the supporting
walls.
Ensure that the F-sections are installed with the appropriate slope for drainage.
3. Installing F-Sections:
Drill pilot holes into the marked locations on the walls.
Attach the F-sections to the wall using screws and anchors.
Make sure the F-sections are level and properly spaced to support the polycarbonate sheets.
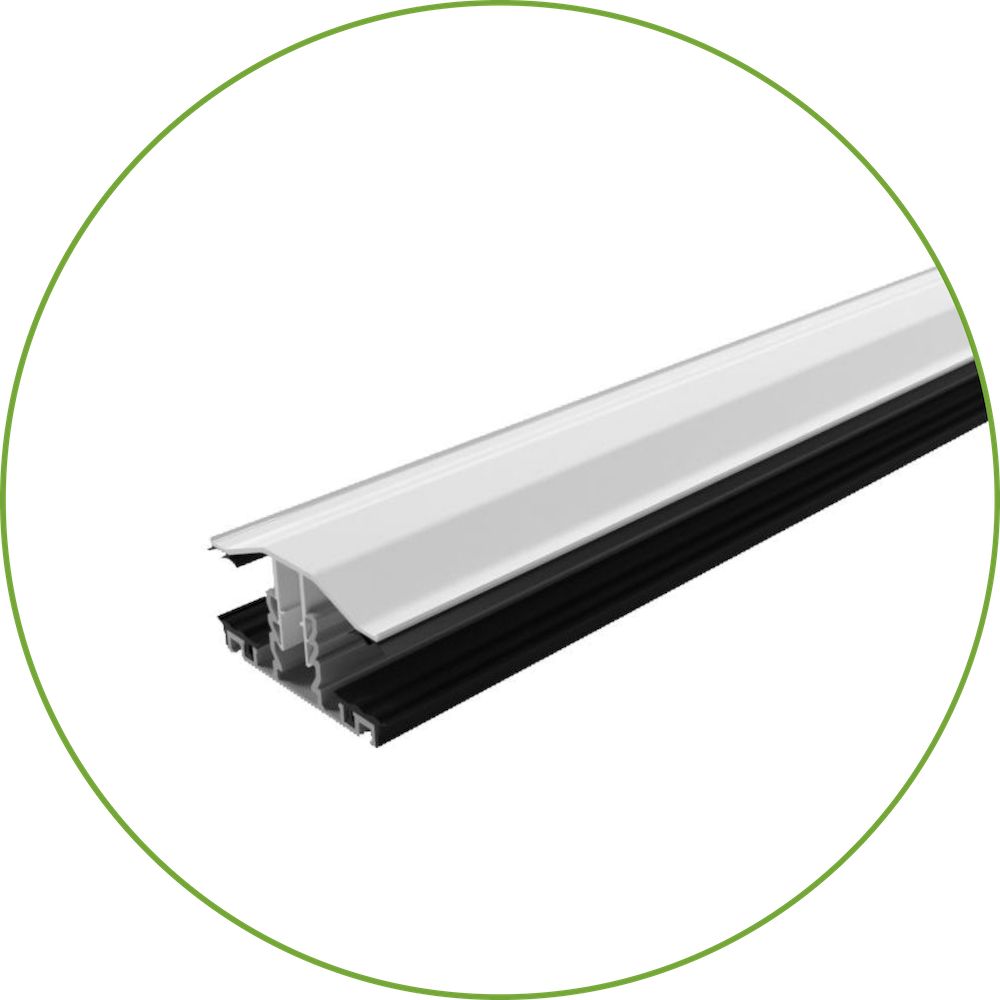
4. Installing Snapdown Glazing Bars:
Position the Snapdown glazing bars on top of the F-sections.
Ensure they are evenly spaced along the length of the F-sections.
Secure the Snapdown glazing bars in place by tightening the provided fasteners.

5. Preparing Polycarbonate Sheets:
Measure and cut the multi-wall polycarbonate sheets to fit the size and shape of your roof.
If necessary, use a fine-toothed saw designed for cutting polycarbonate.
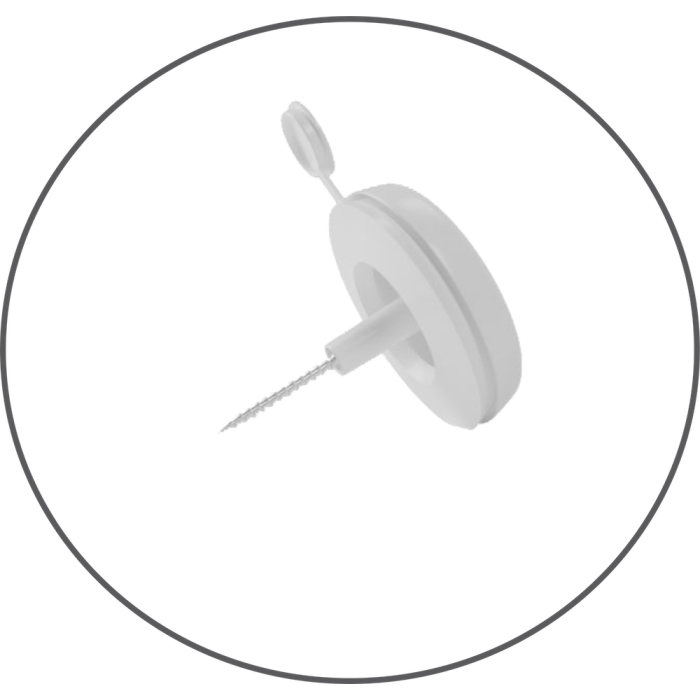
6. Installing Fixing Buttons:
Position fixing buttons along the length of the Snapdown glazing bars, ensuring they are
evenly spaced.
Secure the fixing buttons to the Snapdown glazing bars using screws.

7. Attaching Polycarbonate Sheets:
Place the multi-wall polycarbonate sheets onto the fixing buttons.
Align the sheets correctly, ensuring they are snug against the Snapdown glazing bars.
Secure the sheets by adding pressure to the fixing buttons.

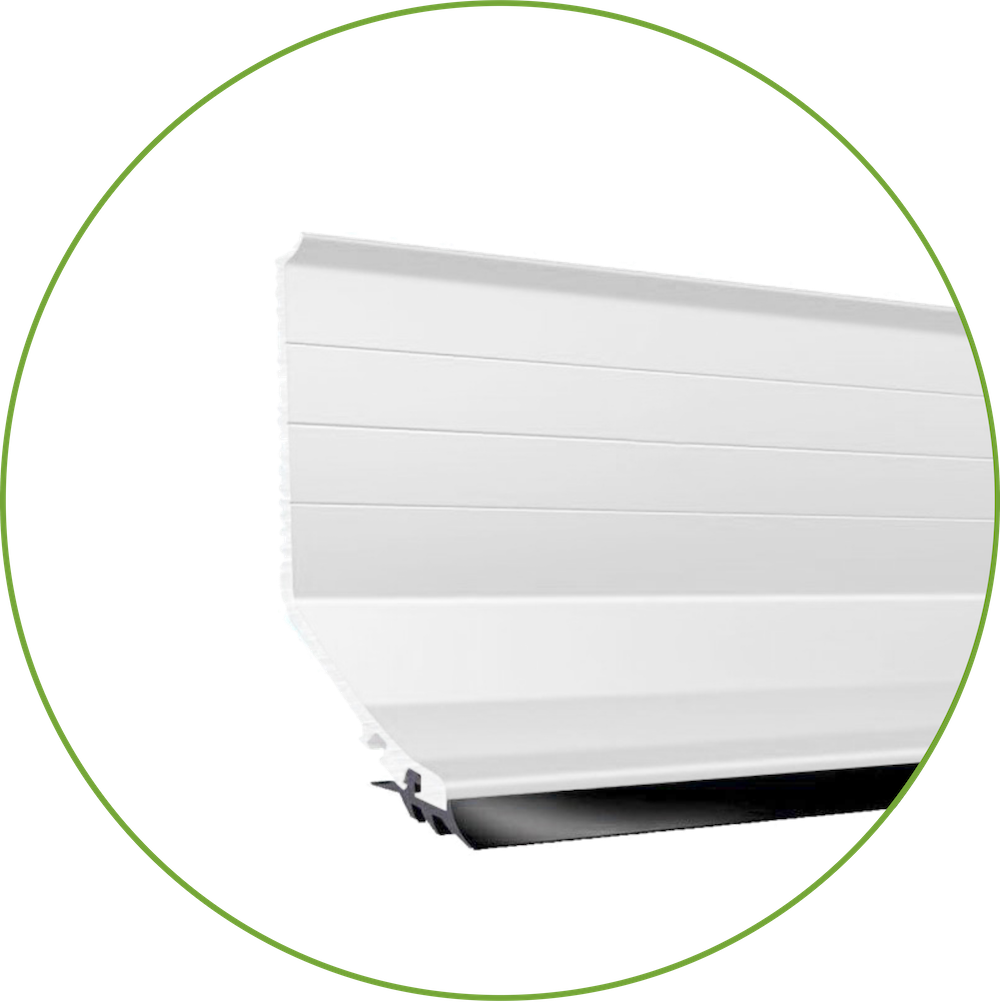
8. Installing Sheet Closers:
Install sheet closers at the edges and joints of the polycarbonate sheets to prevent water and
debris from entering.
9. Wall Facing Panels:
If you're using wall-facing panels, attach them to the outer edge of the polycarbonate sheets
to provide a finished look and additional protection.
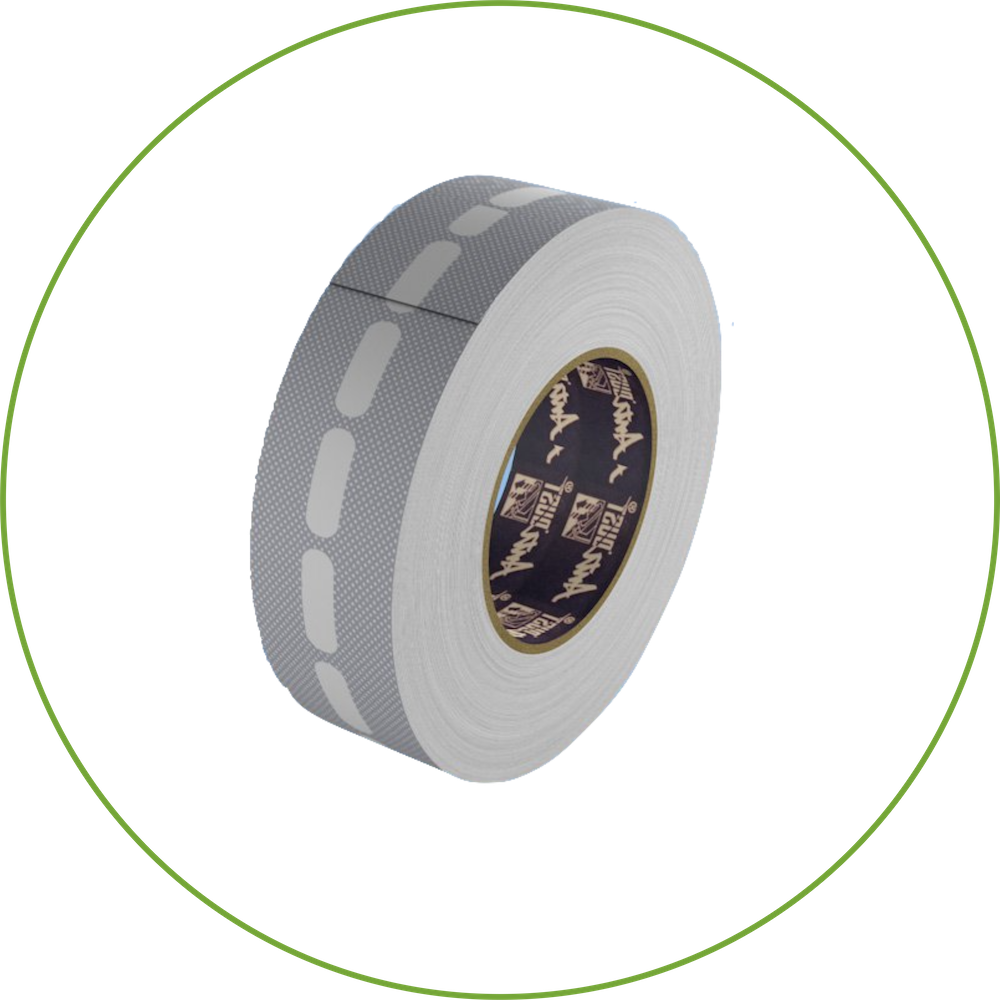
10. Facing Tape:
Apply facing tape to seal the gaps between the sheets, F-sections, Snapdown glazing bars,
and any other joints.
Ensure a watertight seal to prevent leaks.
11. Final Inspection:
Check the entire installation for levelness and alignment.
Make any necessary adjustments.
Apply roofing silicone sealant to any gaps or joints to ensure a watertight seal.

12. Clean-Up:
Remove any debris and unused materials from the installation area.

13. Safety Precautions:
Always follow safety guidelines when working at heights.
Use appropriate safety gear to protect yourself.
Remember that this guide is a general overview of the installation process. It's essential to consult the specific installation instructions provided by the manufacturer of your self-supporting glazing bar system, as their product may have unique features or requirements. Additionally, if you are not comfortable with any part of the installation process, it's advisable to seek professional assistance to ensure a safe and secure installation
"Please keep in mind that this guide offers a broad overview of the installation process. It is
crucial to refer to the precise installation instructions provided by your roofing system's
manufacturer, as their product may come with distinctive features or specific requirements.
Furthermore, if you feel uneasy about any aspect of the installation process, we strongly
recommend seeking professional assistance to guarantee a safe and secure installation.
Polycarbonate Xpress accepts no liability for damages or injuries resulting from incorrectly
installed roofing systems.