


Material and Tools You Will Need:
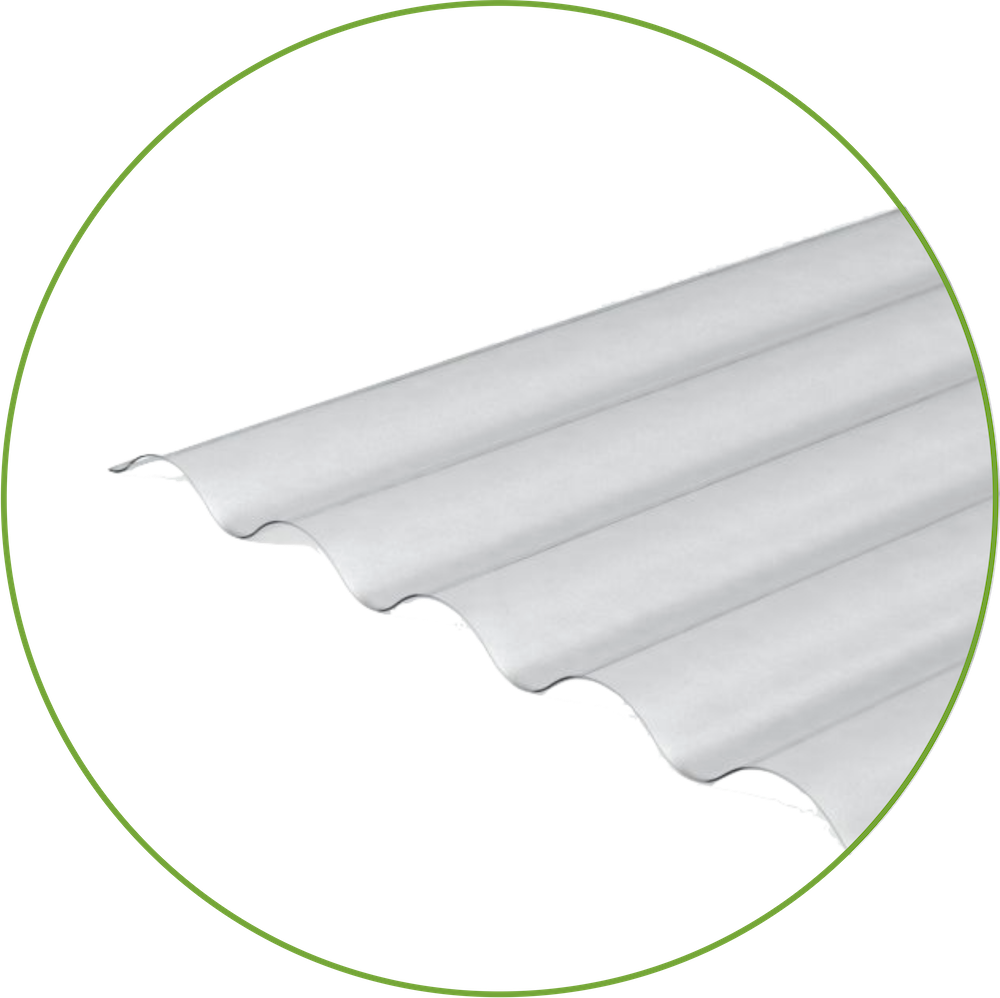
Clear PVC corrugated sheets
Corrugated fixing screws with spacer packs
Corrugated PVC eaves fillers
Measuring tape
Spirit level
Screwdriver or cordless drill with appropriate screwdriver bit
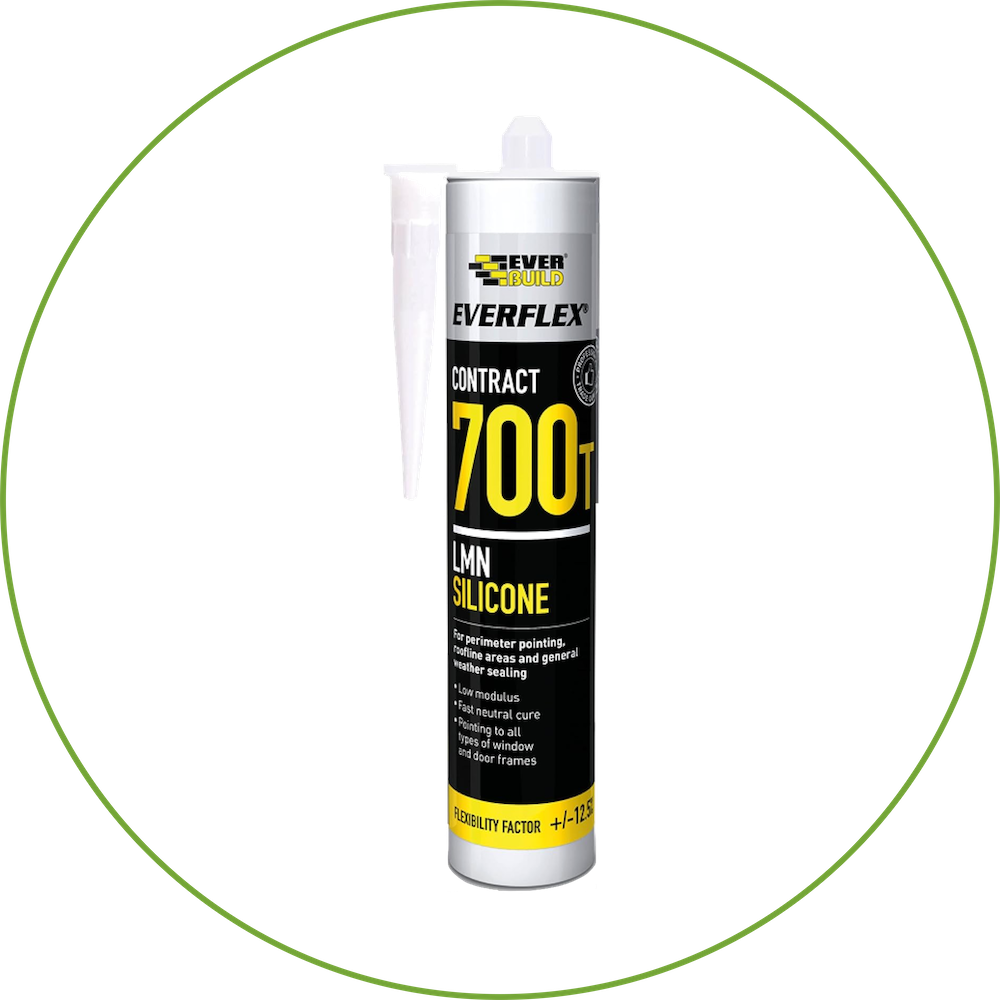
Roofing silicone sealant
Safety gear (gloves, safety glasses, etc.)
Installation Steps:

1.Planning and Preparation:
Determine the size and shape of the area you want to cover with clear PVC corrugated sheets.
Ensure you have all the required materials and tools.
Check the local building codes and obtain any necessary permits.

2. Measuring and Marking:
Measure the area where you'll install the clear PVC corrugated sheets.
Mark the locations for the corrugated fixing screws, ensuring proper spacing between them.
Use a spirit level to make sure your markings are level and square.

3. Preparing the Surface:
Ensure the surface where you'll be installing the sheets is clean and free of debris.
If necessary, install purlins or battens on the surface to provide additional support for the sheets.

4. Installing Corrugated PVC Eaves Fillers:
Install corrugated PVC eaves fillers along the eaves of the roof to provide a weather-tight seal and prevent debris from entering.
Use roofing silicone sealant to adhere the eaves fillers in place.
5. Installing Corrugated Sheets:
Start at one end of the roof and align the first sheet with the eaves fillers.
Pre-drill holes through the corrugated sheets at the marked locations for the fixing screws.
Attach the first sheet using corrugated fixing screws with spacer packs.
Repeat the process for each subsequent sheet, overlapping them to ensure proper water runoff.
Trim the final sheet to fit if necessary, ensuring a neat finish.

6. Securing the Sheets:
Tighten the corrugated fixing screws with spacer packs to secure the sheets in place.
Ensure the screws are not overtightened to avoid damaging the sheets.

7. Adding Additional Support:
If the sheets are particularly long or prone to sagging, consider adding additional support in the form of purlins or battens beneath them.
8. Sealing Joints and Screws:
Apply roofing silicone sealant to the top of each fixing screw to create a watertight seal.
Seal any gaps or joints between the sheets with silicone sealant to prevent leaks.

9. Final Inspection:
Check the entire installation for levelness, alignment, and any signs of gaps or leaks.
Make any necessary adjustments or apply additional sealant where needed.

10. Clean-Up:
Remove any debris and unused materials from the installation area.

11. Safety Precautions:
Always follow safety guidelines when working at heights.
Use appropriate safety gear to protect yourself.
"Please keep in mind that this guide offers a broad overview of the installation process. It is
crucial to refer to the precise installation instructions provided by your roofing system's
manufacturer, as their product may come with distinctive features or specific requirements.
Furthermore, if you feel uneasy about any aspect of the installation process, we strongly
recommend seeking professional assistance to guarantee a safe and secure installation.
Polycarbonate Xpress accepts no liability for damages or injuries resulting from incorrectly
installed roofing systems."